Thursday, December 8, 2016

Nearly done....

Have a few things to do now that the seals are installed, aside from tires the car needs to be aligned, the dash and under dash panels need to be installed and then fettled.  The doors do not fit as nice as they did when there were no seals limiting their closure but I'm hoping that once they have a chance to warm up and spend a little time together they'll settle in so to speak.  

Safety wired the front radius arm bolts today tomorrow I may try to align the wheels, got an idea on how to do the toe in with a lazer line.  Stay tuned and I'll let you know.  Need to quit now and go shovel snow....


Cheers,

2 hrs

Wednesday, December 7, 2016

And now the drivers side...


Working on the drivers side, tasks are coming to a close with the sub zero weather and no tires....
I think I'll send RJ home next week and wait for nice weather to do the 'fettling' after we have tires.
Wonder what the deal is with the cracks that seem form in this spot on either side, must be related to the window frame  which the OTS doesn't have?


Welded back up

Door on, working on fitment...

Aside from reinstalling the dash top, I should be pretty much done till I can fettle and tune the car,  I'm a little worried about the clutch but will have to see when we can start driving RJ.

My next project will be either to finish the 4.2L engine or work on my '73 and see if I can fix the oil leaks and power steering....Haven't decided if I'll continue the blog since the purpose of this was to keep Michelle up to date on RJ's progress.

Cheers,

4 hrs

Tuesday, December 6, 2016

Replacing weather stripping/seals.


Mostly photos today, was able to get a few hours in between family comitments.
Plastic sheeting bing installed, was missing and resulted in some damage to the door card.

Door card installed, had to move the chrome strips for a good fit


Condition of the old weather stripping

Removed old, cleaned track for new one, second side was easier than the first, the chrome post doesn't have to come out to install the weather strip


Removing the drivers door, can't get to the weather stripping with the door in place.


Protecting the car with padding and tape while working with the door and weather stripping glue

Condition of the seal behind the front of the door

Needed to glue and clamp the chrome 'dog leag on the passenger side windscreen, I think it would have blown off it was so loose.

The new seals are installed, need to put the door back on and the innards back in it.

Cheers.


4.5 hrs

Friday, December 2, 2016

TGIF

I thought I was going to get going on the left side today but ran into some other issues, a crack in the door that had to be welded up, a window that wouldn't go all the way up or all the way down (not much point to new seals if you can't wind the window up) and all the tasks in between point A and point B.
Something had happened here where the window track had been brazed resulting in poor fitment of the last screw seen to the right (cockeyed) and the spot welds were broken at the seem just to the right of the oblong hole.  

The area cleaned in preparation for welding, used a screw to clamp the pieces together.

Just a reminder of where the wires went since I was disconnecting the generator and regulator from their leads,  have heard that welding could damage those parts ( I think that was related to the possibility of burning out diodes in an alternator but since I wasn't sure...)

Removing the glass from the door so as to be able to get to the 'squeegee' window seal and to try to figure out why the window wouldn't roll all the way up.


Cleaned window winding mechanism, now lubricated as well.

Have no idea why I took this one, getting the window out was a challenge, was afraid the glass was going to break but after removing the window winder and the 4 nuts to the left of it was able to pull it all out with some wiggling on the way.

Welded up corner, installing the window and frame

Now ready to cover the door, what I thought I would be doing this morning. Fits much better, window rolls up and down, moves easily and the new seal fits much nicer (painted under the seal with touch up paint (close but not perfect and will get a color match for other touch ups-still much better than the white showing IMO)
Called Eurotire today and placed a back order for Vredstein tires. That's it for this week, have a great weekend!

Cheers,


8 hrs

Thursday, December 1, 2016

Ground Hog Day?

Like the movie of the same name with Bill Murray it seemed like today was a repeat of yesterday and likely what tomorrow and the next day will bring.  

This is the door limiter, I don't know what they called it but it keeps the door from opening into the body, as you can see this is about to fail, I welded the one on my car and it has held up for several years so figured that I ought to try it on this one too.

Fitting the rear quarter window was a bear, holding the glass in place working around the seal trying to put the spacers in position and starting the screws... talk about needing a third hand!

This is how these cars were likely assembled,  pop rivet didn't catch, don't worry about it, there's two more.


This is how it should have looked, no gap and door should fit and seal better.

Cleaning the track out for the new seal, tape to protect paint from glue and chipping while reinstalling the door, a tip, install the limter spring (below)  on the hinge before installing and aligning the door...

Lousy welder...

but has a good grinder

Done for the day, door on, adjusted and ready to go on to other side tomorrow,  door will have to be adjusted for fit after weatherstripping has 'laid' down.
Cheers,


6 hrs

Wednesday, November 30, 2016

Weatherspripping

Couldn't think of a catchy title for todays post, put in the passengers seat and decided to get going on the weather stripping.  RJ's seals were likely original and as such hard and brittle having long since given up on the task they were originally intended for.  Turns out to be quite tedious, scraping out the old seals, cleaning the 'track' and installing the new ones.  Some of them fit into a track and getting them 'squished' into this track will likely result in hand cramps tonight.

Wanted to remember ho the old seals intersected here

Don't think this shows it very well but the seal in this 'B' 'pillar' is completely broken off.

To replace the seals on the door one has to remove the door to get at them.  Will have to fix the track on the front seal as the rivets missed the track and will need to be replaced.

This is the seal for the rear window and was dry and crispy, someone had tried to seal the window with Home Depot weather stripping

Messy job, right after I cleaned the interior-Oh well.

new quarter window seal, nice and soft but a bugger to wedge into the track


Tires continue to be problematic, local tire shop has suggested going to a larger tire as they are finding it hard to locate what we need.  I will likely suggest that we wait till we can get Vredsteins.

Cheers,


5.5 hrs

Tuesday, November 29, 2016

Interior

Today was interior day, kind of a break from the greasy work that I've been doing for the past 5 months ;-)  I started with making underlayment for the carpet/mats/hardura.  Originally the car would have had a jute product but I was able to find a product that worked as well from my favorite Auto Upholstery shop (Chip Knight). This should help with noise I hope,  on my car I used Koolmat but Michelle may want to wait on considering something like that till she decides that she likes RJ enough to spend the extra money.

Drew asked if it was hard to get the console out, frankly Drew I don't recall so I think it came out easily.  Going back in was slightly different though, I was on the verge of getting under the car to release the parking brake when it miraculously dropped into  place sorta like the fuel tank.  I did run into issues with the drop down access to the fuses though and no mater what I tried the panel would catch on the radio console.  I finely went with an option that I don't really like but had learned about on Jag Lovers which was to take out the middle two screws on the light panel and tap the ends for a couple of screws like the ones holding the panel in place (nice to have extra parts laying around) that can be easily removed allowing the identification strip to be easily removed and the panel opened. 
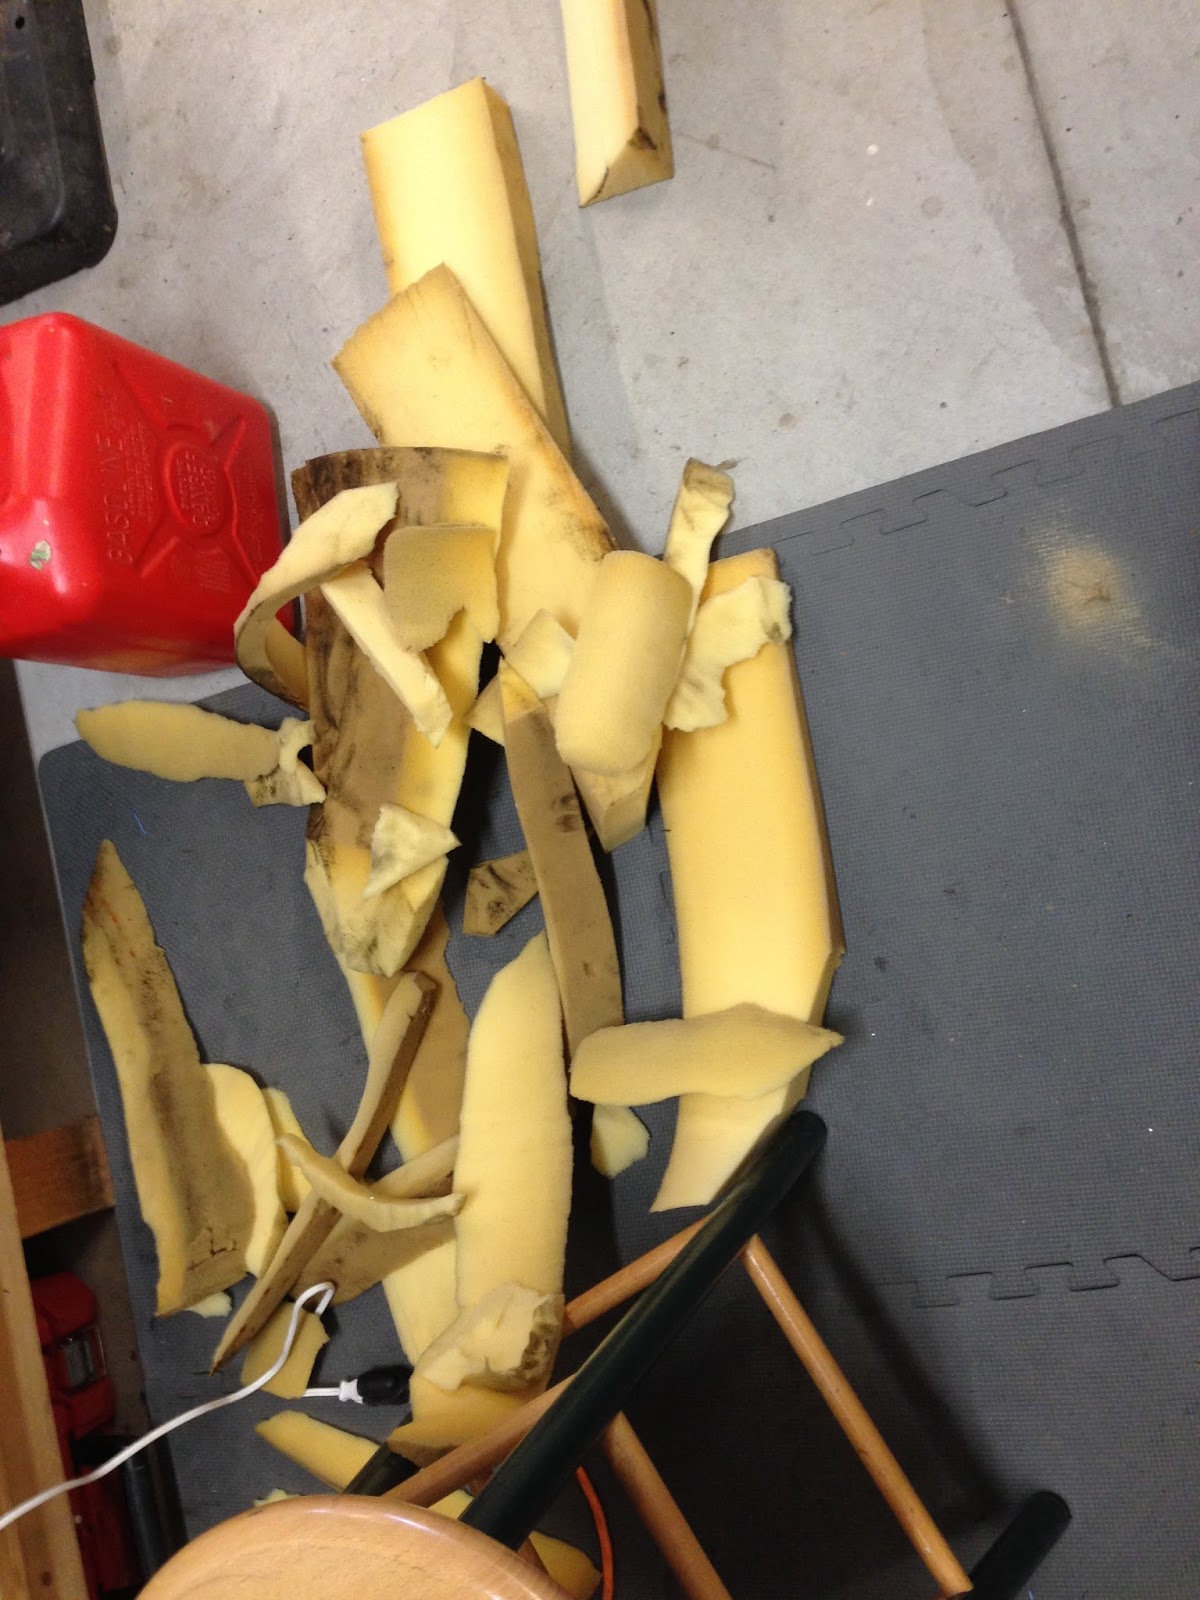
I finished up the day by putting some gunny sack material on the bottom of the drivers seat to keep the deteriorating foam from dropping onto the mat under the seat, installed the new seat belts and then the drivers seat.


felt in place of OEM jute

Console, center and radio in place. What a PITA trying to get them low enough to drop the center panel 

Seat and frame installed, seems like real progress

Had to bang out the floor pan, not as bad as the drivers side but years of nicompoops with floor jacks have left their toll.

Well that's it for today,
Cheers.


7.5 hrs


Monday, November 28, 2016

Something in the way she moves...

...well I can't remember the rest of the words to the song but it really was special to see it move under power.  I drove it around the block and other than a antifreeze leak and a balky reverse gear it ran very well.  Did not take it far as the tires are ancient and potentially dangerous.  I spent some of this morning trying to get a quote on new tires, tubes and rim strips, then off to Chip Knight's to get some felt to put under the carpet and a piece of foam to insulate the transmission as per OEM.
Cutting the foam to fit

How to make a big piece of foam into a lot of little pieces

The foam in place and awaiting the cover

Cutting the felt to fit under the seats


Straightening the floor where it had been damaged by a poorly placed jack sometime in the past


Installing the center console, also replaced the rubber around the brake lever, old one was shot

Added antifreeze through the opening by the temperature sender, unfortunately the bolts were seized and one of them broke off-DRATS.  tried to drill it out but then the bit broke-DOUBLE DRATS!  Made a new cap, drilled a new hole and taped it for a new bolt, thus far it's not leaking.  


One thing that was good that came from this was that I decided to check the thermostat and there wasn't one,  this is a big deal since the thermostat prevents water from taking a short cut back to the radiator through the bypass. Car would have been much more prone to overheating.

New thermostat-brass thing in the cener of the picture


Going through the electrics revealed that the back up light wasn't working,  turned out that the seat for the bulb was corroded to the point that there was not electrical continuity


Cheers,


9.5 hrs