Friday, September 9, 2016

One step....

... (?) steps backwards.  Well, first the bad news. The passenger side rotor (brake) is saturated with fluid, it covers both sides and the caliper is covered too so I think it is coming from the caliper.  The big problem with that is not so much the caliper but that the rear suspension has to be dropped to get to it and then one has to decide 'while we're there'....  Why is this an issue? because this would be the time to change the driveline U Joints, replace the seals on the differential and rebuild the rear brakes. The list goes on, it's a tough situation that I was hoping we could avoid but if we want this car to be reliable then were going to have to really think about it.

Today I worked on the reservoirs, and the reservoir heat shield. The asbestos shield was badly deteriorated and need to be replaced, the reservoir bottles were full of crap and need to be cleaned so this was a good time to replace the asbestos heat shield.  Thanks go out to Jim H. for 'donating' a piece of Hardy Backer Board to replace the asbestos insulation.


Black crud in the bottom of the bottles

Asbestos heat shield, flaky.

Back side of heat shield, should be galvanized 

Hose joining the reservoir to the brake master cylinder, pointer showing the cracks in the hose.


'New' heat shield


Wet rotor (the thing with the rust colored rim), covered with some type of fluid, most likely from the caliper but could be from the differential.
Excellent design but difficult to service since the whole rear end has to come out to service it.


Showing how someone has 'hacked' the cage, will weld it up if we decide to move on with it.

'Moisture' more apparent in this photo
Do we keep going or wrap it up and allow your pocket book to catch it's breath?
Cheers...

Thursday, September 8, 2016

Making progress

I stripped the paint off the adjusting collar for the steering column and repainted it yesterday.  Looks a bit better  I hope.

Steering wheel in place, will likely have to be moved when the gets aligned but it looks nice to have it back on the car and the column sorted with new universals

The new ball joint that came today


Getting the upper ball joint to seat using a pipe clamp to hold them snug 

Poor picture but the greased wheel bearings, new seal are in place and the caliper attached, again I used lock washers, locktight  and safety wire. over kill for sure!
That's it for today, tomorrow will be the last day for awhile since I'll be getting Emmy ready for the oil leak (I've been told that adding tour is redundant with Jaguars).
Cheers....

Wednesday, September 7, 2016

What's up...


Well, Michelle's car for one.  Still waiting for the ball joint part so I can get the drivers side back together and put the car down on the ground.  On the other hand lots of other things to do, took the steering column down and checked it to make sure it's set up correctly for the horn and cleaned/lubricated the turn signal switch.   Got the radiator back in and drilled the mount for the header tank to get it set 'square' in the engine compartment.
This the adjusting knob for the adjustable steering column, I decided to strip it down and paint it since it is pretty visible.

Steering column, had concerns about play in it and the horn contact.  Hopefully it will work as intended otherwise I'll mount a bicycle horn ;-)

Radiator installed and isolated from the chassis as intended. Should be an issue with coolant changes every 2-3 years.

That dang hole, thought I could mount the over flow tank here so installed a Rivnut only to find that it's to close to the bonnet flange


Radiator and header tank

Overflow tank, hopefully it won't leak
Installed several hoses only to find that I need a spacer pipe for the lower hose,  the hose on the car was not a good idea since it was prone to collapsing and to close to the fan belt leaving the one that was on the car with a groove through the cording on the old hose.  Sounds like I'll need to put in another order to SNG for the pipe. If I do, I'll probably oder some new motor mounts too.
Cheers...

Tuesday, September 6, 2016

One step forward, two steps(?) backwards....


I think this is a common feeling when working on one of these cars, they have had so much done to them over the course of their lives that it not surprising to find things that make you wonder "what were they thinking?".  The answer is that when a lot of this happened they were not a valuable car and getting it running and back on the road was the first priority. Today I encountered several things that were questionable, in fact highly questionable.  The first two dealt with the steering,  the rack was mounted by just the rubber mounts and didn't have the safety spacers that keep the rack in position if the rubber mounts separate.  On this car one of the rubber rack mounts was separating (shown in a previous post) and had it separated while being driven the car would have become uncontrollable.  The second steering issue was that the splined U-joint had been opened so wide that it wouldn't tighten down on the pinion for the rack.  This would have caused wear and eventually gotten sloppy or worse.
The other thing I spent time redoing were the bolts holding the picture frame to the engine frame, I assume that this had been messed with when the engine was pulled out(?), but at any rate the nylock nuts were not engaging the bolts and could have worked loose.

Any good news? well yes of course ;-)  made some progress on the front end with the installation of the anti-sway bar, the rack and the shock absorber.  SNG is sending out a new ball joint to me this week so should be able to wrap up the front suspension.
New anti-sway bar bushes

'New' Shock?

Picture of the nylock nut, beneath the wrench, if you look closely you can see that the bolt doesn't come all the way through. The upper ones show how it should look with a new bolt.


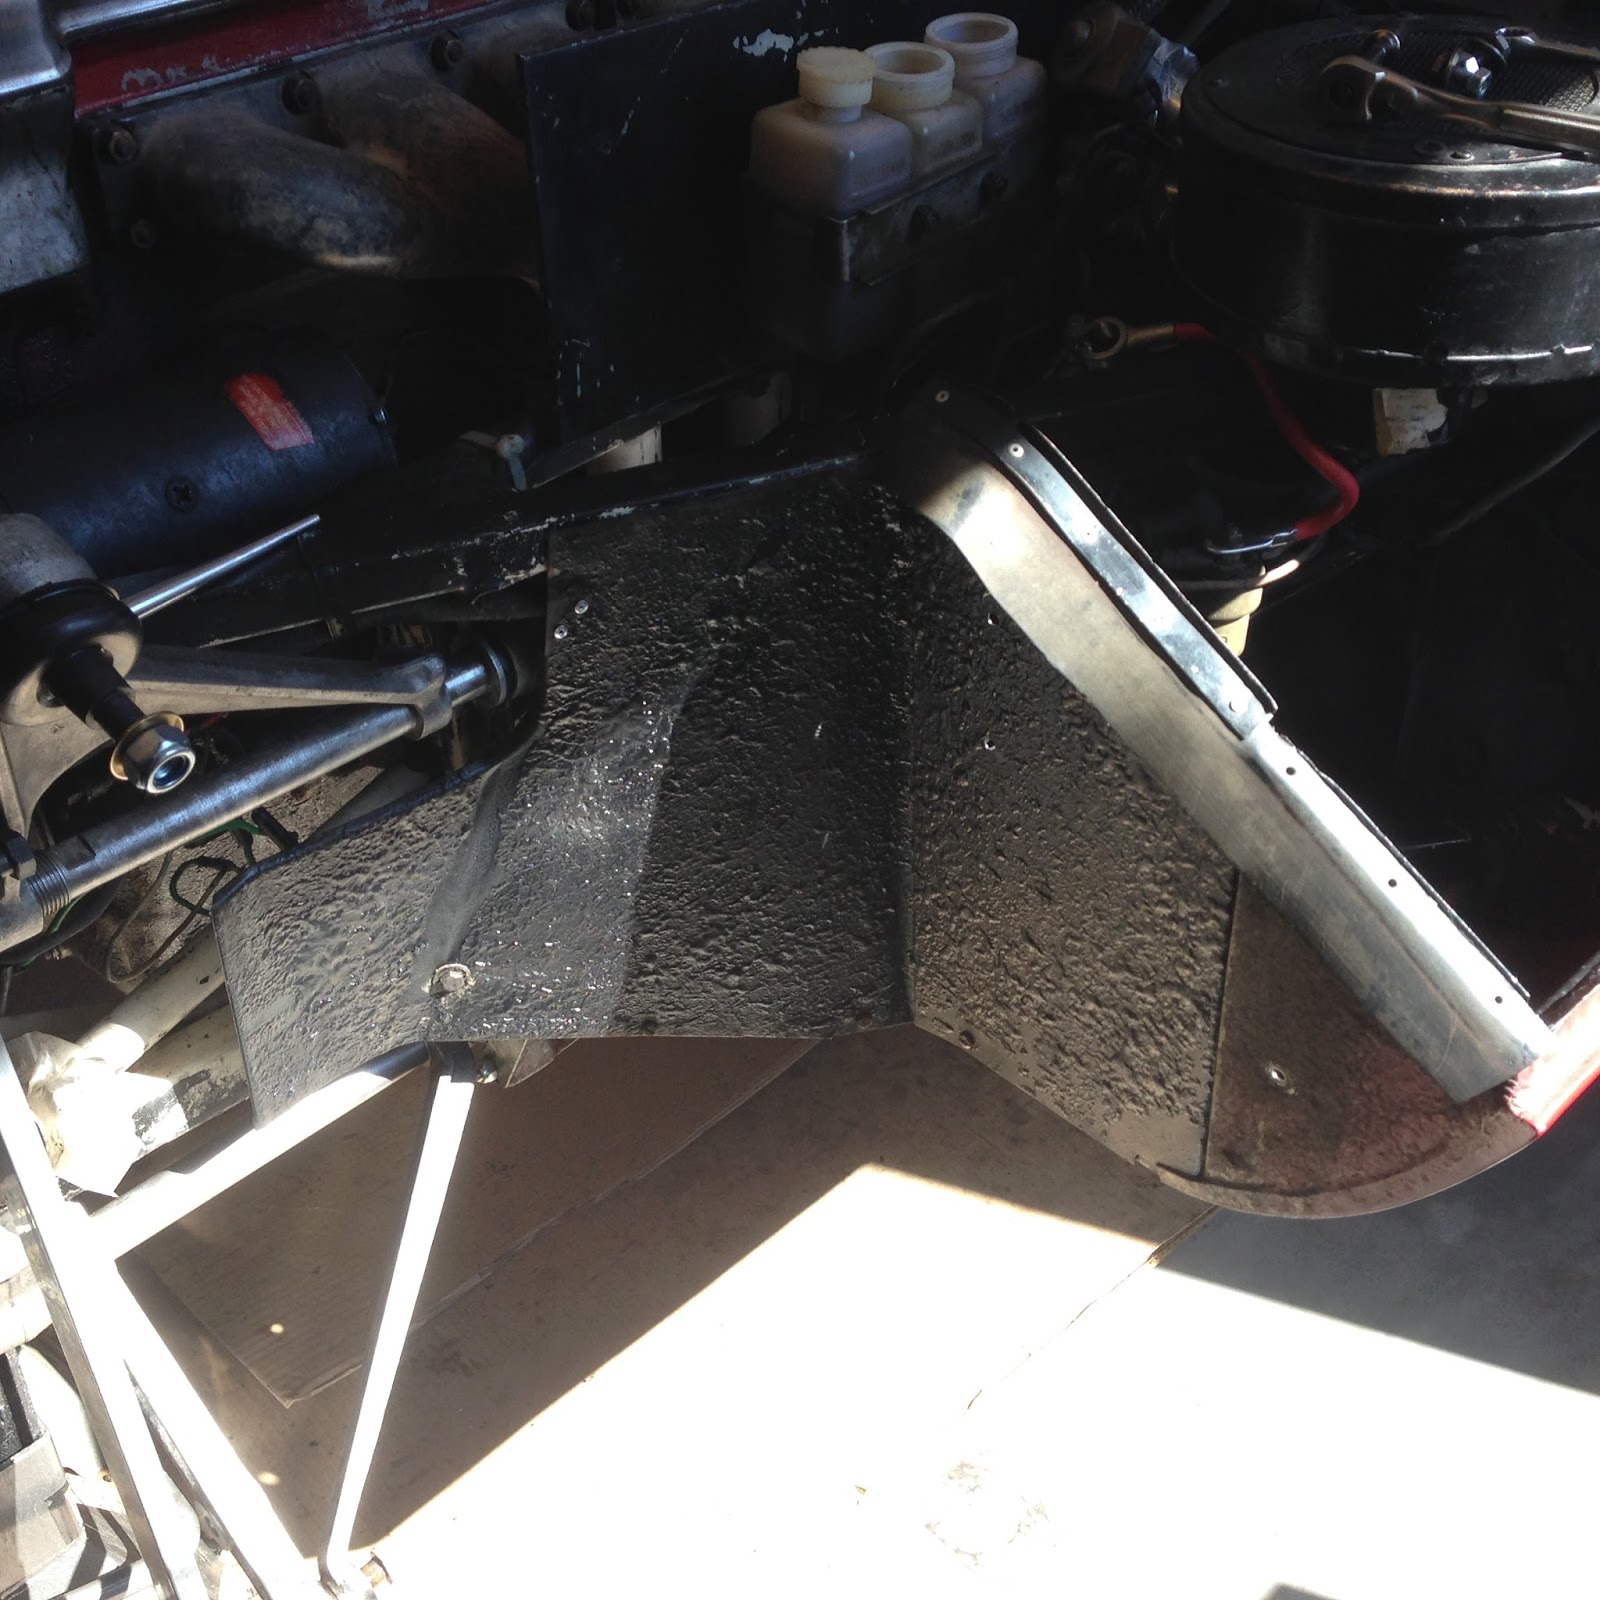
Steering rack installed

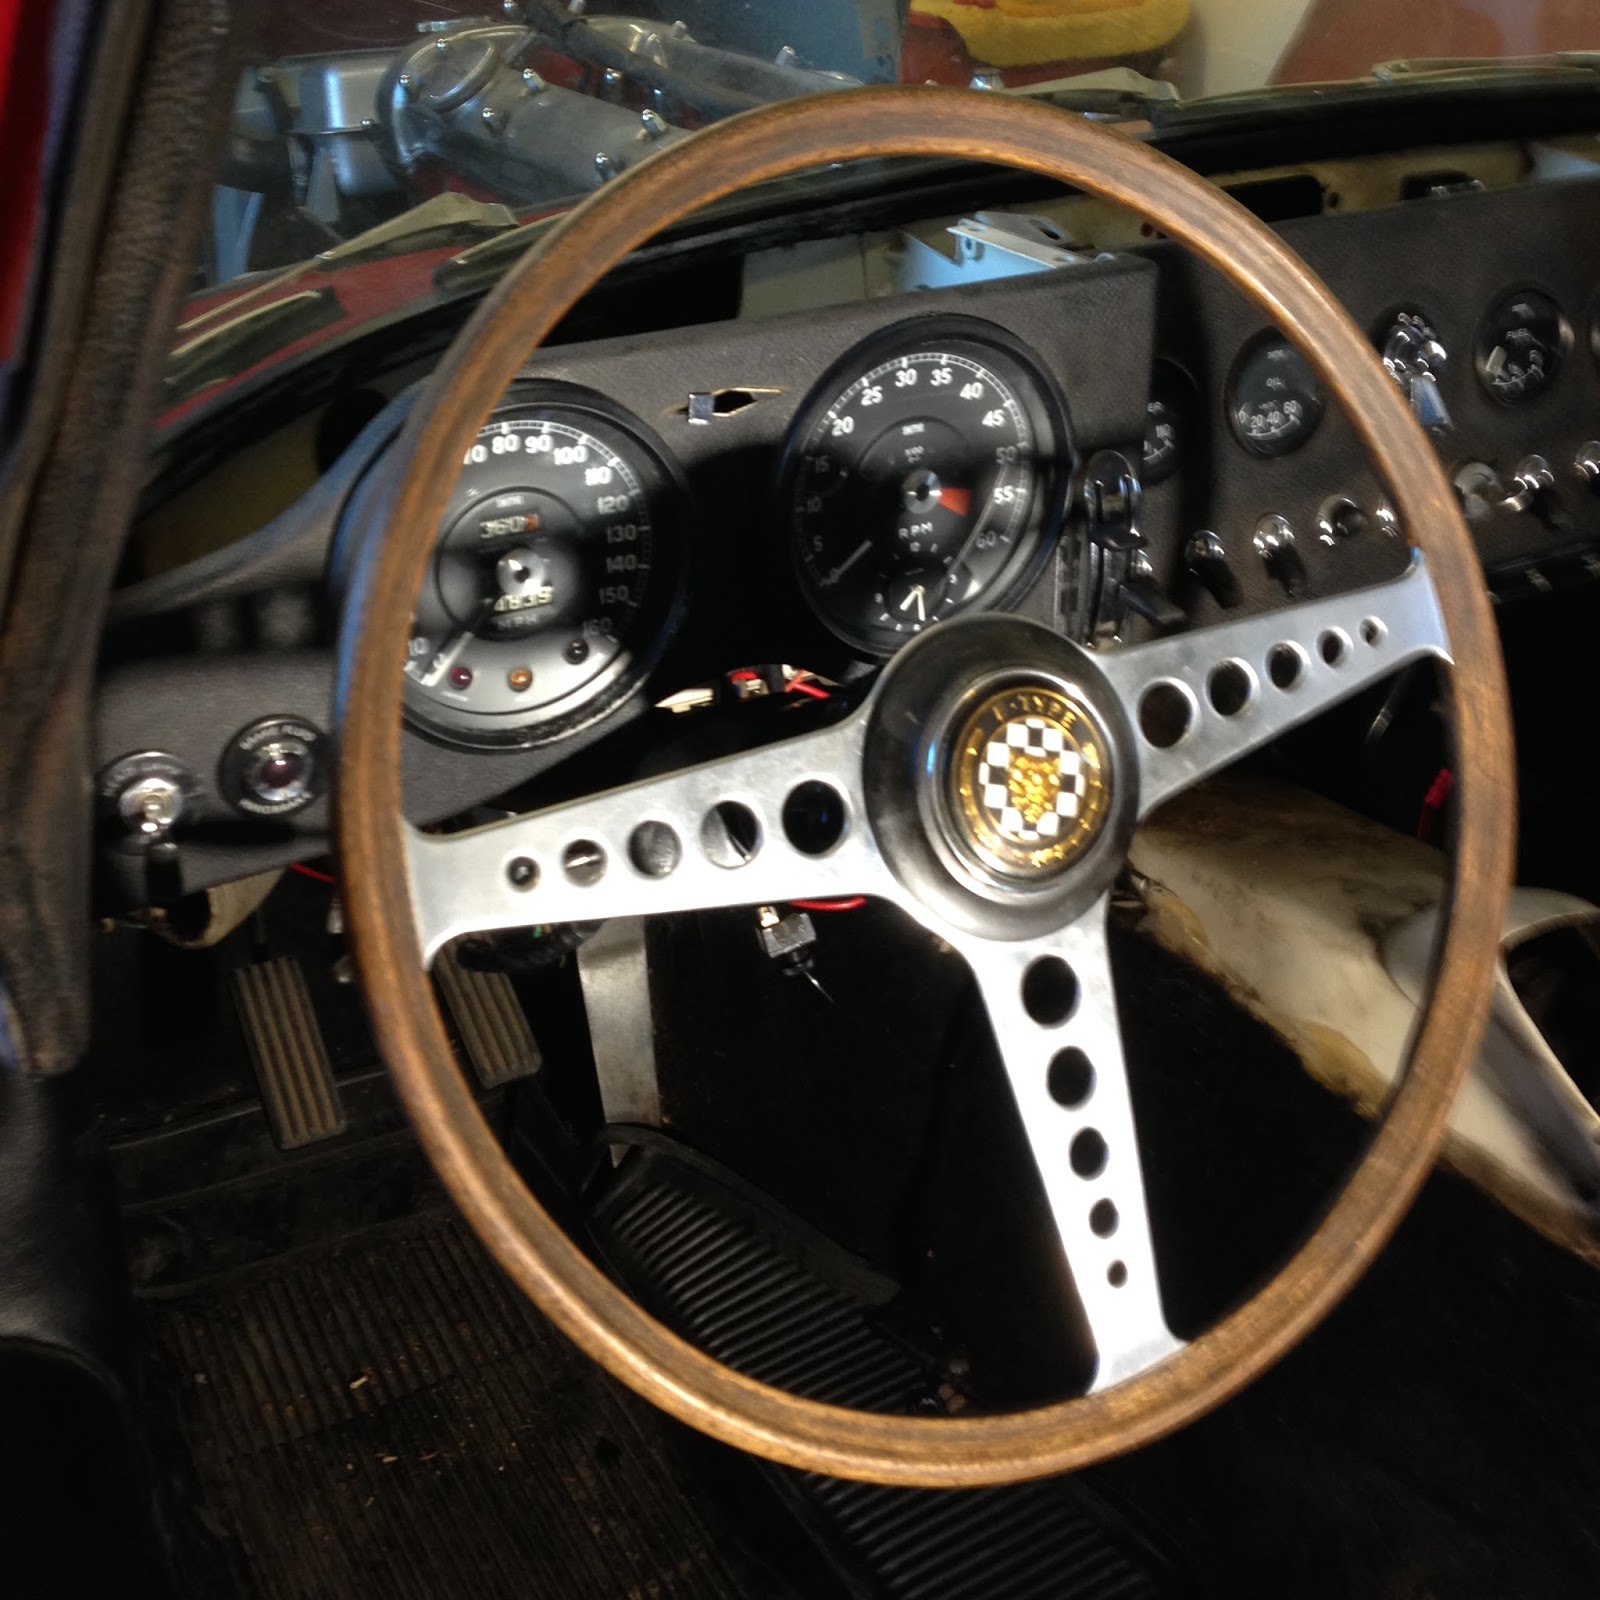
Installing the steering column, will have to pull it back out since the horn pin seems to be permanently grounded 

Tomorrow, will get the horn working properly and install the radiator.
Cheers.

Monday, September 5, 2016

Short day, long post....


Happy Labor Day Ya'll,  Put in a few hours on Michelle's car working on the suspension and mud shields.

The upper 'A' arm is installed with a new upper ball joint.  These are assembled without the spring and shims are removed till the ball moves freely then the spring is installed and clip is installed.  
I found a bolt missing on the engine/transmission brace so spent a little time installing a new bolt.  Then I installed the bottom mud shield, the fender mud shield the battery mount and finally the battery.


As soon a I get the part for the lower ball joint I'll be able to finish up the suspension, install the rack and the radiator....
Cheers.

Friday, September 2, 2016

Long day, short post....

TGIF ;-)  Today was a little challenging because I decided to install the torsion bar on the drivers side but I'm getting ahead of myself.   I painted the shock, again they seem to be in pretty good shape and are fully adjustable with a turn of the knob.  Then I replaced the old steering rack mounts, they are what isolate the rack from the body of the car to reduce vibration into the steering wheel.  After 52 years it's time to check and replace, the one on the drivers side was beginning to separate.  Not life threatening but would make the steering very sloppy.  Like many reproduction parts they had to be fiddled with to make them work, at least we can get the parts.

This was when I decided I could attach the 'A' arms while I am waiting for the replacement part for the ball joint, hope that comes soon.  The A arm and bushings go on then the setting link is used to set the torsion bar, so far so good.  Got it set at just the right tension and was tightening it down when I realized I couldn't get the torsion bar to go into the 'A' arm far enough to put the holding pin in.  OK, now I'm thinking I know why they didn't put one in, they couldn't line it up.  Well, to make a long story shorter the end of the 'A'arm where the splines are was beat up and damaged so that the torsion bar splines wouldn't go through.  At this point I had no choice but to take it all back down, start over and file the female splines down to get the 'spurs' off.  Won't know till next week if it worked but at least on the bench I could get it to mate properly.

Just painting the shock

The steering rack mount with a screw driver in the split, it's made of two metal pieces bonded together with rubber.
Cheers

Thursday, September 1, 2016

Reunited and it feels so good.....

Today was much more pleasant than yesterday but it was nice because of all the cleaning I had done yesterday.  Still had a few things to clean today and tomorrow will be another cleaning day too, but today it was fun to start putting some parts back on the car.

Air cleaner box reassembled and installed.  

Panels were installed prior to the installation of the air filter box, they were cleaned and painted yesterday


Wheel bearings cleaned, greased, new seal for hub, rotor installed and then the caliper.  The bolts for the caliper were drilled for locking wire and since I like to do this, even though the bolt has split washer and locktight I did it anyways.  Belt, suspenders and...?

Freshened front suspension on passenger side.


Today wasn't without mishaps though,  I was working on the lower ball joint on the drivers side only to realize that the ball joint kit was missing the upper 'cap'.  The other kit had it so I had proceed to remove the one on this side in preparation for reassembly and it was destroyed during the removal process.  A quick note off to the supplier and I hope it comes soon because the front suspension is waiting.
Cheers