Wednesday, October 12, 2016

More of the same...

....another cleaning day ;-)  Well, I've got the right side disassembled and cleaned-hurrah!
The weather is supposed to turn nasty tomorrow so I wanted to get as much of this stuff cleaned and painted as possible, we had our first frost last night so took an extended lunch break to get the camper winterized.  After that went to our FLAPS and bought some supplies for RJ, grease, cleaner, some electrical stuff to put a relay and circuit breaker in for his fans.  Going to follow Drew's setup which he shared with me on the oil leak tour last month.


Drive shaft, had hoped to re-use the U-joints but they were dry and I was unable to save the seals during removal

Of interest and possible explanation of why they were dry, who ever did this job last left out the grease zerks.


Lower control arm ready for paint

Axle assembly cleaned and ready for paint

Hardware cleanned.
It will be fun to start the re-assembly with clean and painted parts, need to put together another SNG order-Will and I are becoming dear friends....


Cheers


4.5 hrs

Tuesday, October 11, 2016

Rub a dub, a dub....

...and what the heck is a 'dub'?
Can't believe i didn't take a post cleaning picture but I didn't, have to take my word for it that it cleaned up nicely.


After cleaning I was able to see some 'brindling' on the bearing race.  Have to decide weather or not to replace the bearings on the hub.  Not sure it will make to much difference if it's cleaned up and greased?


Taking the springs off the shocks

Interesting for the fact that the spring has OEW and red overspray

Cleaned and painted radius arm

Springs?  Cleaned and painted

Cleaned up, control arm ready for paint tomorrow.

8 hrs

Monday, October 10, 2016

IRS/NSX

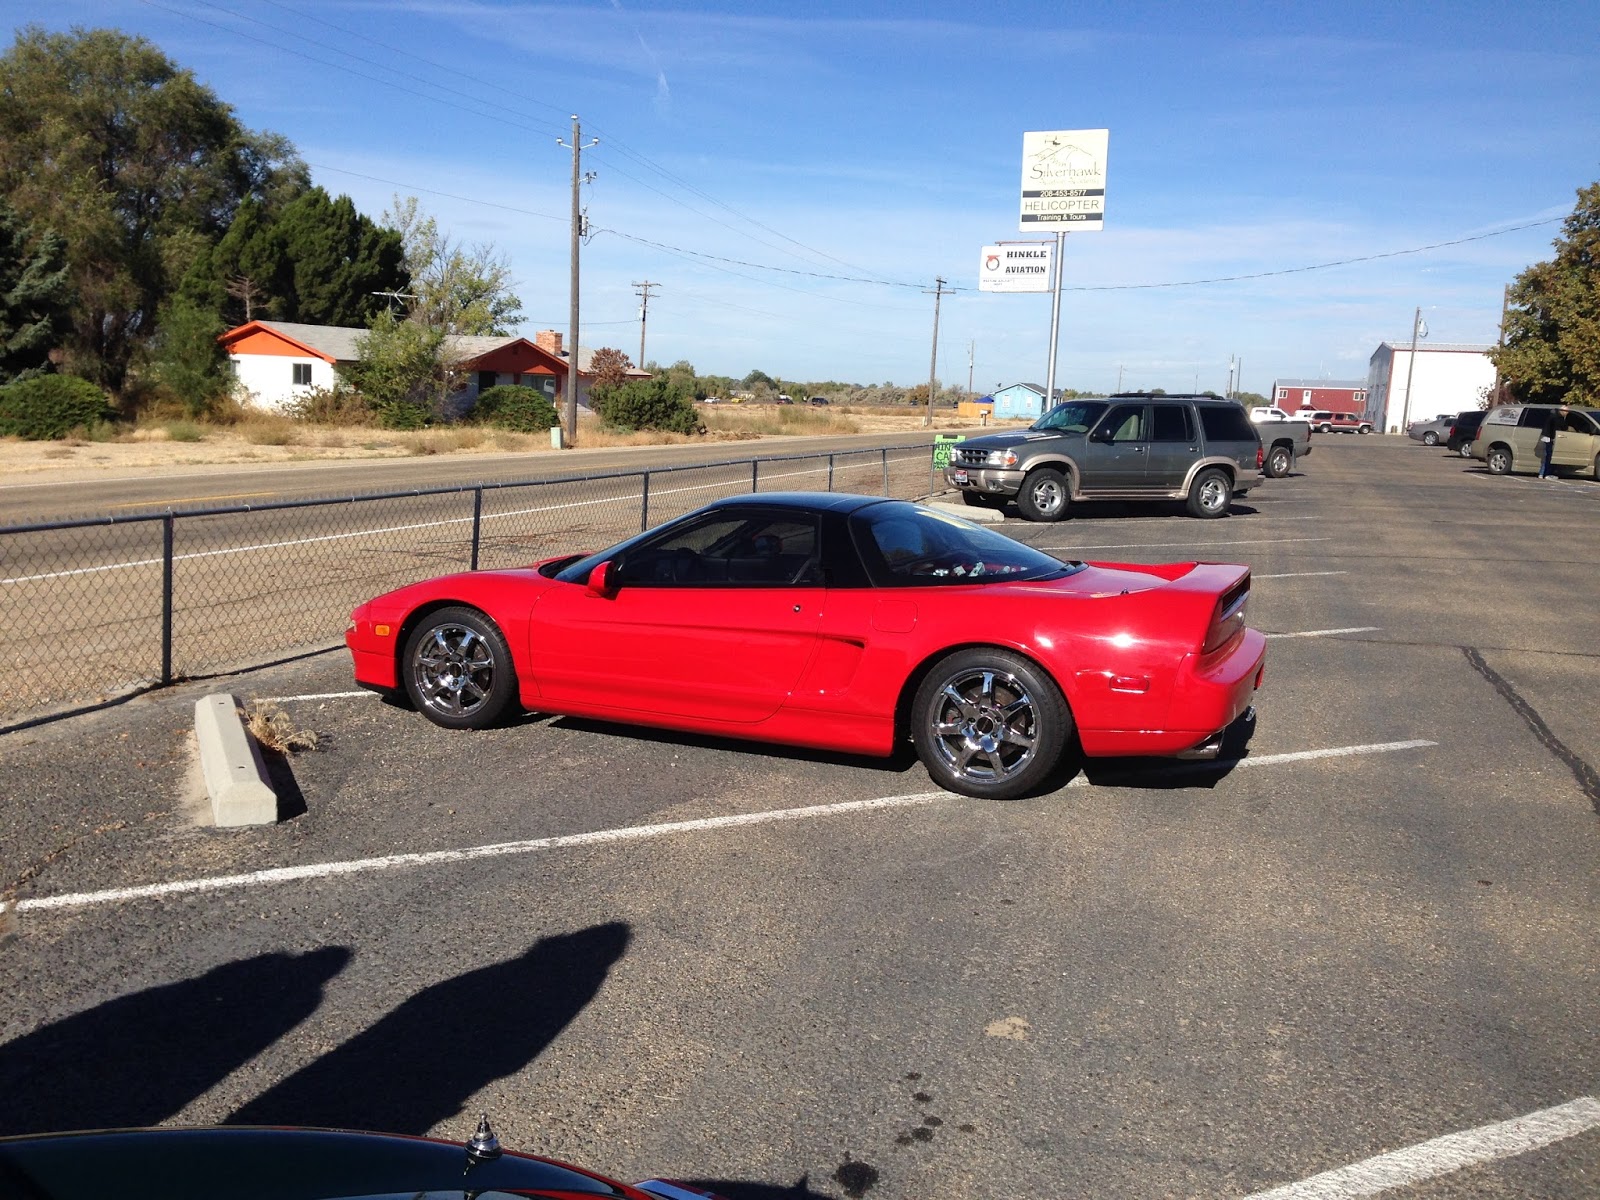
Hi Folks, had a great weekend.  We joined some friends for breakfast at the Caldwell Airport on Saturday.  One of the folks drove his 1991Acura NSX, this is one of the few super cars from the 90's that I would love to have.  Brad gave me a ride in it and he popped my neck with every gear change!  Redline is at 8K! Very nice car that Brad has maintained at a very high level, the car looked like a new car.

Today was a cleaning day and expect that most of the week will be spent getting parts cleaned and ready for reassembly.


Bottom plate for cage, this had been damaged by folks who jacked up the car without taking precautions to protect it.  I had to straighten it up and weld up a tear in the steel 

Finished and painted

Differential during the cleaning

Took a break and disassembled the calipers, they would have leaked as soon as we tried to use them, the following pictures show the crud in the calipers, doubt you can see the corrosion that has damaged the inside of the calipers. We will need to either get them re-sleeved or replaced


Cleaned and ready to disassemble for new seals....


Cheers.


7hr

Friday, October 7, 2016

Fiddly diddly stuff....

Jan chose the title for todays post :-) Draw what conclusions you want.

Worked on the cage today repairing the damage when some brilliant sole decided it needed cut.  Bent the piece out yesterday and welded it up this morning when the wind was calm.  then ground it down and made it look purdy.

Made a stand for pushing the stub axle out of the hub, tried yesterday but my impromptu stand was collapsing, not a good look when your dealing with irreplaceable parts.  So today I made a support that Chuck Norris would be proud of to hold the hub in place while the 12 ton press pushed it out.


Victorious stand, looks like a one holer?

Cage ready for some love

Bottom cage piece with crack that I'll weld up. Got damaged by jacking up the rear end without appropriate block to take the load.


Purdy new cage, now just need to clean up all the other sh... stuff, yeah stuff, that's what I meant to say....

Placed and order with SNG today, they love you Michelle.  Monday will continue the cleaning process and decide what to do about the calipers, I think we should send them of and have them re-sleeved so we don't ever have to think about them again.
Cheers.


7 hr

Thursday, October 6, 2016

Same ole same ole....

Oh, the glamor of being a jaguar mechanic, dirt and grease and more dirt ;-)
Today worked on completing the disassembly of the IRS.  Sometimes you win and sometimes your loose, the hub broke my stand when I tried to disassemble it so will try to make a more substantial stand/holder tomorrow.  The hub came apart from the axle readily so I knew something must be getting ready to bite me...

Using the hub puller again, what a neat tool!

A small amount of the debris

The IRS cage with everything removed except for the 'Pumpkin'


Did I mention I hate cleaning?


Parts bins, red=right R-R Right?

Pumpkin separated from the cage

Why oh why?  Don't know why a PO did this but I'm going to fix it!

Will weld it up in the morning when it's not so windy

It's much easier to just bite the bullet with these bushing sleeves and make two cuts, the sleeve almost dropped out, just make sure your wearing your reading glasses so you don't cut into the other stuff.


Here's the pumpkin, oop's don't look it's taking a leak...


Nasty black fluid, but at least it had fluid. PS: it's heavy, but it's not my brother...

That's all folks,
Cheers

8 hrs

Wednesday, October 5, 2016

Tearing the IRS down

Today was spent disassembling the right side of the IRS.  Recall that this was started because we saw the brake rotor which was covered in some sort of fluid, either brake fluid or differential oil.  After I removed the brake caliper and inspected it for leaks I've come to the conclusion that the slop on the brake rotor was 90 wt gear oil from the differential.  

Todays pictures chronicle the tear down of the sub-components of the rear suspension,  tomorrow I'll start the tear down of the other side of the unit. 

Stand that I made to support the hub for pressing out the stub axle, will replace the seals and re-grease the bearings if they look OK once their cleaned

12 Ton press used to push out the stub axle seen below


Pulling the bearing off the stub axle to get to the seal 


The brake caliper was supposed to come right out, unfortunately the caliper has to be disassembled to allow it to com out the 'port hole'.


Decided to remove the remnants of the bushings from the control arms, they are pressed in and often rusted into one piece, when this happens the metal shell has to be cut to make it so it can be driven out, but one has to be very careful not to cut the control arm

Driving the metal sleeve out 

second cut to get it so it would fold in on itself

Finally 'dropped' out

Now the same thing on the little end


the two bushes, will clean up the control arm, paint it and press in the new bushes 

This shot is for Drew :-)

Well, that concludes todays adventures.  Need to continue the disassembly of the left side and order some parts. Lot's of parts cleaning in my future :-(
Cheers

6hr