Thursday, August 18, 2016

Rack and Pinion refurbishment plus a visit from Toad's Diagnostic CEO

I knew that today was going to be one of those days that is spent cleaning stuff so it can be painted and reassembled.  However I had a surprise visit from Terry, the CEO, CFO of Boise's famous 'Toads Diagnostics'.  It was a pleasure to have him come over to inspect Michelle's car and take us out to lunch!  Along the way we managed to fix his MGBGT's choke cable that had mysteriously come out of the dash and tried to strangle him, fortunately we were able wrestle the wayward cable and get it re-attached in the engine compartment and Terry lived to tell the tale.

Cleaning parts, did I mention that I hate cleaning parts!

Mr T., thanks again for lunch!


The assorted parts

We purchased the rebuild kit for Michelle's rack and pinion which was very complete except for the locking plates, including the bearings, gators, clamps and seal
These are the parts after cleaning, I painted them and will reassemble it tomorrow.
Here is the video I made yesterday (we'll see if it works this time) of Michelle's engine, terrible quality so I'll keep my day job, wait I don't have a day job!

Tomorrow I'll get our cars ready for the car show so may not get much done on RJ, we'll see.
Cheers

Wednesday, August 17, 2016

Vroom, Vroom... with apologies to Mazda

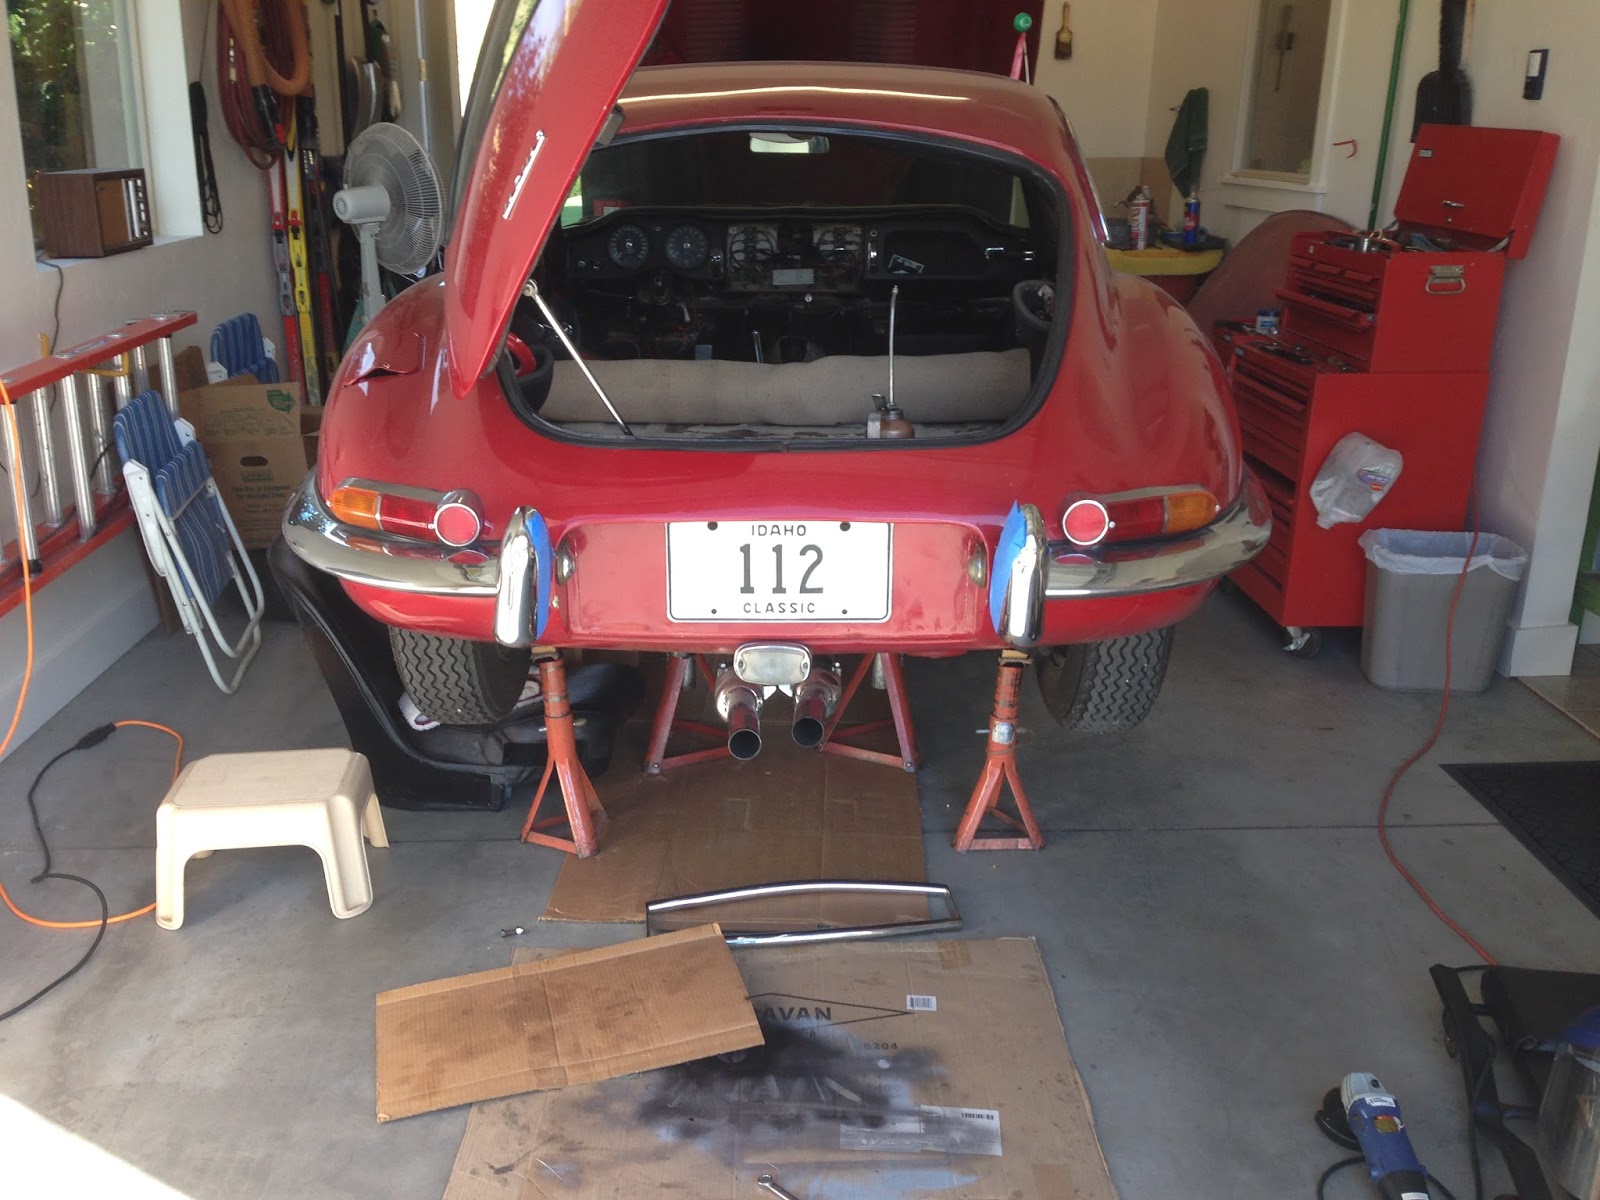
Well, as you may have noticed there wasn't a post for yesterday.  I had everything ready to start the engine but decided to wait till I could have an audience so I could be embarrassed in front of friends ;-)   While I was waiting for everyone to arrive  I installed several of the seals including the following incredibly exciting photos of the installation of the seal for the bonnet.

One thing about the installation is that it's worth noting that #M's black weatherstrip adhesive is much better than the yellow 3M product, also one needs to clean of the release agent that is left on the rubber pieces.
Measuring the seal, left over from my supplies

Protecting the paint from getting the glue where it shouldn't be


Seal attached and wrapped around
 Yesterday evening we tried to start the car, the fuel pump worked, the carbs and dizzy were refurbished, what could go wrong?  Ok, Jan has the fire extinguisher in hand, Michelle is watching and Dave and Terry are looking for issues.   Cranks easily then loud POPS, two from the front, one from the rear.  Jan is so startled that she unconsciously pulled the pin on the extinguisher but thankfully doesn't squeeze the handle ;-).   OK, OK, the timing is obviously off and likely 180 degrees off but how did that happen.  As I was pulling the dizzy to see if I could have gotten it mixed up but at this point we saw that the front carb was dripping gas from the throat and all the banjo's for the fuel line were leaking.  Tried to tighten them but not luck with them or the front float bowl so called it for the night.

So this morning I pulled the top off the front carb float bowl and sealed the seat where the jet screws into the top of the carb.  I used a very small amount of sealant on each of the banjo bolts and got them to seal too.

Now I decided that the timing had to be off 180 degrees and moved the spark plug leads 180 counter clockwise.  When Jan got home we decided to try her and much to my surprise it fired and ran within 1 rotation on the crank-it was quick!  I don't know if the video will work but this is it.

So after I ran it a little while I stopped it and drained the water out, did this three times and slowly the water started to clear a bit.  Will encourage Michelle to change the coolant pretty soon after it's back on the road.

The steering is the next thing to refurbish,  the column wasn't attached inside for some reason so it was easy to pull out after releasing the shaft from the u-joint. It will be cleaned and greased.
 Next I decided to pull out the steering rack to start it's repair, both boots were shot and the rack has a stiffness that doesn't seem right.


Wiped down, will take it apart tomorrow and see if it needs to be sent off or if I can rebuild it.
Enough for now.
Cheers

Monday, August 15, 2016

Peak-a-boo...


Today was kind of a laid back day, waiting for a parts shipment from SNG which should have among other things an oil filter element.  I've drained the oil and removed the filter in anticipation of replacing the oil & filter and perhaps trying to start the engine?    We also have new hoses coming but may try to flush the cooling system using the old ones (if they don't pop!) and then install the new hoses.  Still lots to do but step by step...
For some reason just happened to notice how this wiper sat.


How it should set, nice to have some old parts on hand that I can donate to the cause


While I was messing with the wipers I decided to fix the WS washer nozzles, they had come loose and needed tightening.  With the dash off I was able to reach into the dash on the left side and with my SWMBO holding the nozzle I was able to tighten it up. The right side, on the other hand, left me with a vague sense of panic when I reached in there and couldn't get my hand out.  Yes folks it's that tight and I felt like the proverbial 'kid with his hand caught in the cookie jar', so for a few moments I was trying to figure out how I was going to get my hand out of there and weather or not I was going to have to call the fire dept., I could just see myself explaining to Michelle why they had to use the jaws of life on her car.... Obviously I got my hand out or I wouldn't be writing this.

As I'm contemplating how I'm going to tighten up the nozzle, I noticed another plate on the bulkhead that I hadn't seen before.  Why they cut this panel out and hacked away some of the interior panels is beyond me but it did give me access to the WS washer nozzle on that side.  
My lovely SWMBO


This fitting is the leaky drain on the radiator, not only did it leak but some one had broken the handle off of it.  So I decided I could fix it for a lot less that a new one would cost by taking it apart, smooth the surfaces with some rouge and put a new handle on it.

With the 'new and improved padded' handle ;-)

This is the correct path of the bonnet harness which gets it out of the way of the tires and suspension.  It's fastened to the bonnet and the frame to keep it out of harms way.
That's it for today, stay tuned for a possible engine start tomorrow????
Cheers

Friday, August 12, 2016

Don't tell anyone but 'RJ's' got gas....

Started today with the rat's nest of wires behind the dash.  It's apparent that some of the 'special' Lucas smoke had been allowed to escape in the past, wish 'RJ' could talk because I'll bet there was some real excitement when this happened.   The results were that a lot of the wires had been 'repaired' with vinyl electrical tape that was coming loose and several wires that were incorrect.  The fuse holders were very dirty and somewhat corroded. With this in mind I pulled the fuse blocks out one at a time and cleaned all the contacts with cleaner and a brass wire brush, then cleaned the wire ends too.  Like a lot of old LBC's someone had just stuck in fuses haphazardly with no regards for the correct amp rating.  One thing that some don't realize is that Buss (US) fuses are different ratings from the English rating.  If I recall correctly English fuses are rated at the amperage they blow whereas US fuses are rated at what they can carry.  What this means is that an English fuse rated at 30 amps is roughly equivalent to a 20 Buss fuse, and that using a Buss fuse in place of the English fuse may result in a wire melting before the fuse blows-not good.

just a picture of the mess

I like the new battery and it's hold down bracket, might get one for my car too.

One of the fuse blocks removed and ready for cleaning


After some gnashing of teeth, I finally gave up on the in-tank fuel pump and bought a NAPA in-line pump, so now 'RJ's' got gas...coming to the carbs.  Could be trying to start the engine early next week?

Looking forwards to a couple of days off over the weekend....
Cheers

Thursday, August 11, 2016

Good News....

...Bad news.  A full day starting with the bumper uprights, finally installed and look pretty nice. Next I took a look at the exhaust pipes and how ragged they looked, one even extended out the back 1/2 inch further than the other. 
After taking them down I was able to straighten the mounting bracket and cut off the intermediate pipe enough that the resonators could sit flush and symmetrical.


As they were

Prior to adjusting and cutting the intermediate pipe 


How the 'Otter' switch was wired, 

After 

You've seen this problem before, cleaned it up and re-wrapped. They had been run on the wrong side of 'strut' so that the tire would rub on it at full lock, fortunately the only damage was the sheath. Will re-direct the wires to the inside and secure them so this won't happen again.

Rat's nest of wires that have been modified to allow a switch to be in the circuit.  Will be cleaned up and moved out of the way of the suspension.


Had to make a seal for the gas cap


Another rat's nest. the wires and fuse holders are in a sorry state and likely to have reliability problems unless cleaned and straightened up.

Pipes after 

Wires cleaned up and tucked up against the frame rather than the suspension

New battery installed.
So long ways to go, good news the car didn't blow up when the battery was connected ;-)  Sadly the only thing that worked was the parking brake indicator light.  Still aways to go....
Cheers, and thanks for looking.

Wednesday, August 10, 2016

Dizzy & bumpers...

I spent some time this morning working on getting the bumper uprights to thread onto the bolts and finally got them to 'thread'.  I had to grind the uprights to get them to fit and then primed and painted the raw edges so will wait to finish the installation. What a PITA, they will look nice but hopefully won't look out of place with the old bumpers.


Getting the engine ready to start involves cleaning the distributor and fixing it, the wires were frayed and would have likely failed if we would have left it alone.  So it was removed, cleaned and lubricated with replacement of the questionable components including points.
Very dirty, crusty distributor 

Apart and preparing to clean it, crud was thick and baked on

As the body of the dizzy looks after cleaning

Checking the vacuum advance capsule and making sure that it works smoothly

Dizzy back in it's proper position

Tuesday, August 9, 2016

A Challenge....

Well, if it were easy it wouldn't be a challenge and the sense of satisfaction wouldn't be there.  At least that's my story and I'm sticking to it. ;-)
I received the custom made battery hold down yesterday and decided to install it today.  It fits in the battery tray area but needed to be bolted down.  I decided that the best approach would be to weld a couple of nuts to the underside of tray to expedite the installation and if need be the removal of the holder.

Billet mount tray for Optima Battery

Holes drilled for mount

Nuts being welded to bottom of tray

Fresh paint

Optima mount installed

And now for the painful stuff, this was the 'easy' project that I had looked forward to as a 'break' from the cleaning and painting stuff of the previous week.  Instead of a break it has fought me every step, from removing the old beat up up-rights to the instalation of the new ones.   I should have known it was going to be a hassle because the ones on my car were a PITA too, but memory is short and bad memories tend to get brushed under the carpet/fog of memory.  The problem today is that the new overriders although well made have a slight angle to the captive nut that doesn't allow me to get the bolt started, and when it does it tries to cross thread.  So after spending the afternoon grinding and cutting I finally gave up and decided to sleep on it, so to speak, and see if I have a dream that will solve it for me.  I may have to remove the bumpers to attach them which means that the gas tank will have to come out again because Jaguar in it's infinite wisdom put the bolts behind the tank on that side.

Oh well, one way or another....