Thursday, February 16, 2017

Plugging leaks....

This afternoon was spent trying to reduce (it's British so will not use the word stop) leaks both oil and air.  I decided to tackle the the cam cover and related seals on the exhaust side.  The good news is that I didn't notice any cracks in the cam covers which is a notorious problem with these covers.  So after cleaning the surfaces, finding a new 'o' ring and cork seal for the end I resealed the cam covers (after cleaning).  Hopefully this will slow the leaks coming down onto the exhaust pipes.
One concern for today is the absence of tappet guide hold downs especially on the exhaust side.  It is not uncommon for the tappet guides to ride up with the resulting contact with the cam lobes causing significant damage to an XK engine.  There are several different types of hold downs available and I would definitely recommend that we make this modification on your car Michelle.

While I was trying to slow the idle yesterday and found that adjusting the idle speed screws made little difference in idle speed it dawned on me that there must be a vacuum leak most likely in the brake system.  After checking the various components it appears that the valve at the brake vacuum tank is the culprit.  Now need to figure out what to do about it, I will just cap off the line while I try to tune the carbs but will need to research this a bit more.

Valve covers off revealing the absence of a stake down kit

Cleaned cam cover reinstalled.

Back of cam cover where the 'O' ring and cork seal live, right hand at the end of the cover.


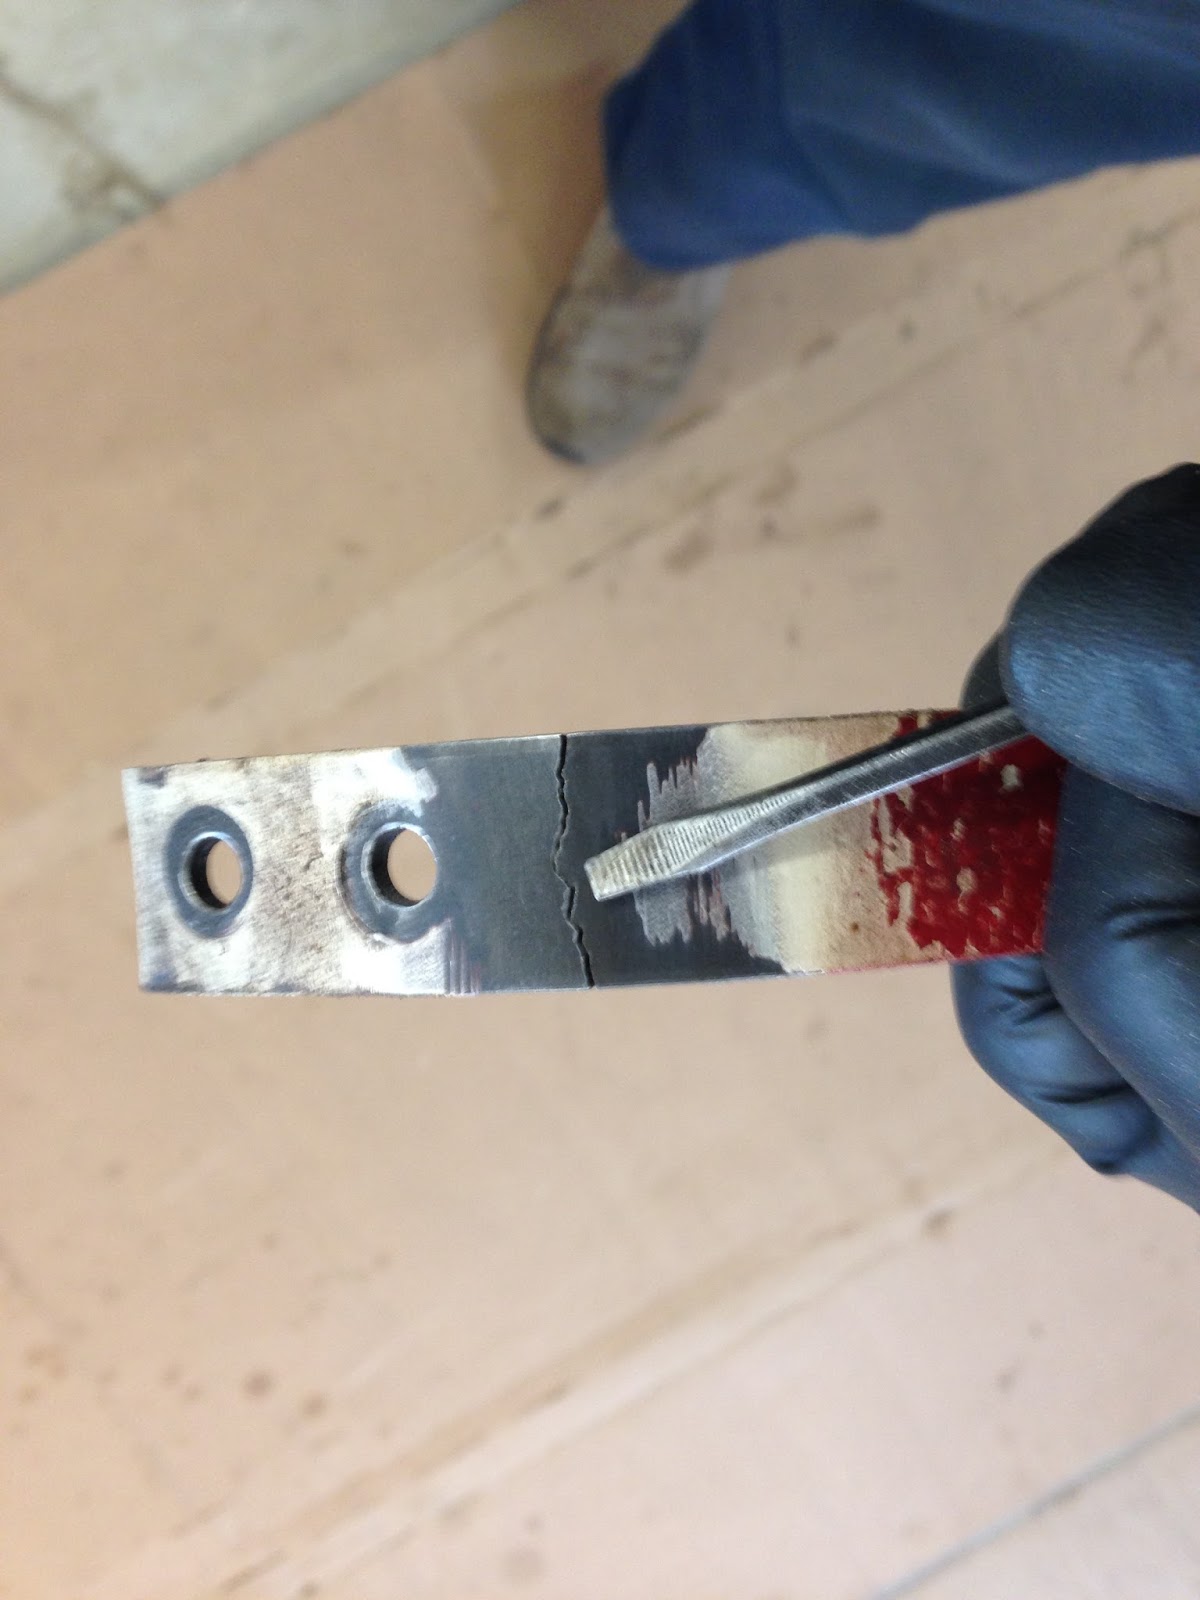
In this picture you can see the lock down plate, held in place by the two allen head screws


Cheers,

3 hours


Wednesday, February 15, 2017

Once more into the breach...

It's been awhile since I posted to the RJ blog primarily because I haven't done much to RJ over the winter,  A combination of cold weather, waiting for tires and family issues has kept me from getting much done.  The tires came in from Euro-tire day before yesterday and I took them down to Boise Tire Pro's to have them put them on.  The old tires were from before the turn of the century and while they had good tread were well past their 'use by date' by at least 20 years.   I picked up the tires yesterday and put them on RJ, afterwards I was going to do a test drive and before I had gone 5 blocks the amp meter was pegged on full charge....  Well I didn't smell any smoke so made a u turn and drove it back home to see what was going on.  I also noticed a trail of oil into my garage and was a bit down when I texted RJ's Mom and told her about the issues.  

Today was a much better day which I'm sure Michelle will be pleased to hear.  I had a voltage regulator from my wife's Triumph Spitfire so I cleaned it up and put it on the car, checked the TDC marks on the damper with a 'nifty' tool I made, and fixed or at least reduced the flow of oil from the cam oil feed line.
Here's RJ up in the air awaiting his 'shoes'

This is the tool I made from an old spark plug to make sure that the timing marks on the damper were correct, with all the other stuff I've found from PO's I had to make sure.

Same regulator used on 1966 Triumph Spitwad


Site of major leak, combination of leaking cam covers and amazingly poor work on the back of the engine.

These are the 'banjo' bolts that hold the cam oil feed lines.  They should have had a very thin crushable copper washer but someone had decide to use regular steel washers, very poor.


This is the cam feed line and shows another problem, someone has crimped the feed line!  Fortunately not completely flat and I was able to work it open a bit more by gently working, tapping on one side then the other.  I'll check with Michelle about replacing it with new washers.


Took the car out for a test drive after I did this work and was pleased, still needs more fettling and tuning but much improved, the amp meter worked as expected, the oil leak was less, although  I haven't checked the driveway today.  Progress, slow but steady Michelle.

Cheers,


9 hrs (Feb. 13th, 14th and 15th)

Thursday, December 8, 2016

Nearly done....

Have a few things to do now that the seals are installed, aside from tires the car needs to be aligned, the dash and under dash panels need to be installed and then fettled.  The doors do not fit as nice as they did when there were no seals limiting their closure but I'm hoping that once they have a chance to warm up and spend a little time together they'll settle in so to speak.  

Safety wired the front radius arm bolts today tomorrow I may try to align the wheels, got an idea on how to do the toe in with a lazer line.  Stay tuned and I'll let you know.  Need to quit now and go shovel snow....


Cheers,

2 hrs

Wednesday, December 7, 2016

And now the drivers side...


Working on the drivers side, tasks are coming to a close with the sub zero weather and no tires....
I think I'll send RJ home next week and wait for nice weather to do the 'fettling' after we have tires.
Wonder what the deal is with the cracks that seem form in this spot on either side, must be related to the window frame  which the OTS doesn't have?


Welded back up

Door on, working on fitment...

Aside from reinstalling the dash top, I should be pretty much done till I can fettle and tune the car,  I'm a little worried about the clutch but will have to see when we can start driving RJ.

My next project will be either to finish the 4.2L engine or work on my '73 and see if I can fix the oil leaks and power steering....Haven't decided if I'll continue the blog since the purpose of this was to keep Michelle up to date on RJ's progress.

Cheers,

4 hrs

Tuesday, December 6, 2016

Replacing weather stripping/seals.


Mostly photos today, was able to get a few hours in between family comitments.
Plastic sheeting bing installed, was missing and resulted in some damage to the door card.

Door card installed, had to move the chrome strips for a good fit


Condition of the old weather stripping

Removed old, cleaned track for new one, second side was easier than the first, the chrome post doesn't have to come out to install the weather strip


Removing the drivers door, can't get to the weather stripping with the door in place.


Protecting the car with padding and tape while working with the door and weather stripping glue

Condition of the seal behind the front of the door

Needed to glue and clamp the chrome 'dog leag on the passenger side windscreen, I think it would have blown off it was so loose.

The new seals are installed, need to put the door back on and the innards back in it.

Cheers.


4.5 hrs

Friday, December 2, 2016

TGIF

I thought I was going to get going on the left side today but ran into some other issues, a crack in the door that had to be welded up, a window that wouldn't go all the way up or all the way down (not much point to new seals if you can't wind the window up) and all the tasks in between point A and point B.
Something had happened here where the window track had been brazed resulting in poor fitment of the last screw seen to the right (cockeyed) and the spot welds were broken at the seem just to the right of the oblong hole.  

The area cleaned in preparation for welding, used a screw to clamp the pieces together.

Just a reminder of where the wires went since I was disconnecting the generator and regulator from their leads,  have heard that welding could damage those parts ( I think that was related to the possibility of burning out diodes in an alternator but since I wasn't sure...)

Removing the glass from the door so as to be able to get to the 'squeegee' window seal and to try to figure out why the window wouldn't roll all the way up.


Cleaned window winding mechanism, now lubricated as well.

Have no idea why I took this one, getting the window out was a challenge, was afraid the glass was going to break but after removing the window winder and the 4 nuts to the left of it was able to pull it all out with some wiggling on the way.

Welded up corner, installing the window and frame

Now ready to cover the door, what I thought I would be doing this morning. Fits much better, window rolls up and down, moves easily and the new seal fits much nicer (painted under the seal with touch up paint (close but not perfect and will get a color match for other touch ups-still much better than the white showing IMO)
Called Eurotire today and placed a back order for Vredstein tires. That's it for this week, have a great weekend!

Cheers,


8 hrs

Thursday, December 1, 2016

Ground Hog Day?

Like the movie of the same name with Bill Murray it seemed like today was a repeat of yesterday and likely what tomorrow and the next day will bring.  

This is the door limiter, I don't know what they called it but it keeps the door from opening into the body, as you can see this is about to fail, I welded the one on my car and it has held up for several years so figured that I ought to try it on this one too.

Fitting the rear quarter window was a bear, holding the glass in place working around the seal trying to put the spacers in position and starting the screws... talk about needing a third hand!

This is how these cars were likely assembled,  pop rivet didn't catch, don't worry about it, there's two more.


This is how it should have looked, no gap and door should fit and seal better.

Cleaning the track out for the new seal, tape to protect paint from glue and chipping while reinstalling the door, a tip, install the limter spring (below)  on the hinge before installing and aligning the door...

Lousy welder...

but has a good grinder

Done for the day, door on, adjusted and ready to go on to other side tomorrow,  door will have to be adjusted for fit after weatherstripping has 'laid' down.
Cheers,


6 hrs