Tuesday, October 18, 2016

You know what....

I did today ;-)  Cleaning the other side IRS components, it's like a friend of mine used to say "it feels so good when it stops hurting you want to do it all over again".  Disassembled the upper control arm and noticed that Drew was correct when he said that he thought the U joints might have plugs instead of zerks.  I poked around and discovered that they do indeed have a plug.  On the other hand, not sure they were ever greased as the roller bearings were dry and just fell out like the autumn rain we got today.


The parts awaiting a nice day to paint them, should start reassembly soon.
Still need to pull out the driveline, clean it up and replace it's U joints since it isn't accessible with out dropping the IRS or pulling the engine.

Cheers.


7.5 hrs

Monday, October 17, 2016

Some days your the windscreen...

And some days your the bug.  Today I was the bug,  continued to disassemble the IRS on the left side and cleaned parts.  The bug part comes in with removing the bearing from the hub shaft only to have the bearing break into it's component pieces while it was being removed.  The other thing was that the hub bearing was seized up and looks like it's going to need replacing too.  I was hoping to reuse all the bearings so as to avoid the tedious process of fitting and measuring preload on them.

Yesterday played around with the brake and clutch bottles and got them installed, I think the 'low fluid' switches will work.  After I cleaned the contacts with contact cleaner it seemed like they were working.

Also played around with the electrics and installed the new fan relay and circuit breaker, just need to get some wire.


cheers,


3.5 hr

Friday, October 14, 2016

Sealing up the differential

Michelle's car has a Salisbury type differential which was leaking onto the brake rotor. So today I decided to see if I could replace the seals without disturbing the preload on the bearings.  Thus far it seems that the early differentials such as this have the preload set by shims and spacers so it's 'relatively' simple to replace the seals.  The output shaft is held in by the five bolts and once removed is easily drifted out allowing access to the seal.  I was able to pull it out and then separate the output flange from the output shaft and install the seal.


After I replaced the seals for the output shaft I decided to tackle the front seal on the pinion shaft.  Getting the nut loose turned into a major project, it's torqued to 130 ft pounds at the factory but this one was considerably tighter than that, I was afraid my socket would break but I put the diff down on the floor, locked the shaft with a tire iron and it finally came loose with a very long extension on the cheater bar.

Pulling the pinion shaft flange


Had to make a gasket for the output flange and have it ready to install on Monday.  The new seal is different from the original so hope it works....
Cheers,


4 hrs

Thursday, October 13, 2016

The right tool....


...for the right job.  Didn't get a lot done today but made an executive decision on the Dunlop calipers and it was very tiring;-)  Michelle, we had the choice of ordering new from SNG or re-built from either Apple Hydraulics or White Post restorations.  New calipers were 4 X$130, A.H. would do them for $100 and WPR would do them for $85.  I have heard good things about all three but price won the day.

We got a parts order from SNG today so was able to put some things back together, this is what's fun, not the cleaning stuff but you can't get to this point without some 'pain'.
I don't know how much this thing weights but it was all I could do to get it up on my counter to be able to work on it.  Tomorrow I'll work up my courage to try to replace the seals and gaskets on this differential.

This is what the title is about, I was dreading pushing these bushings back in but with a lot of help from my 12 ton press and copper anti-seize this job was 'easy'.  This is the picture of the large bushing and note the orientation of the holes.

Small bushing end, used a large socket underneath and a smaller one on top to push the bushing into the radius arm

One of the two indispensable tools, large sockets are necessary not only for wrenching but also for holding pieces and as spacers  

My 12 ton press, if I were doing it over I might get the somewhat more expensive 20 ton unit.  Very handy tool for working on this kind of stuff.

Cleaned the caliper parts and sent the cylinders off to White post today


That's it for today.
Cheers,


2 hrs

Wednesday, October 12, 2016

More of the same...

....another cleaning day ;-)  Well, I've got the right side disassembled and cleaned-hurrah!
The weather is supposed to turn nasty tomorrow so I wanted to get as much of this stuff cleaned and painted as possible, we had our first frost last night so took an extended lunch break to get the camper winterized.  After that went to our FLAPS and bought some supplies for RJ, grease, cleaner, some electrical stuff to put a relay and circuit breaker in for his fans.  Going to follow Drew's setup which he shared with me on the oil leak tour last month.


Drive shaft, had hoped to re-use the U-joints but they were dry and I was unable to save the seals during removal

Of interest and possible explanation of why they were dry, who ever did this job last left out the grease zerks.


Lower control arm ready for paint

Axle assembly cleaned and ready for paint

Hardware cleanned.
It will be fun to start the re-assembly with clean and painted parts, need to put together another SNG order-Will and I are becoming dear friends....


Cheers


4.5 hrs

Tuesday, October 11, 2016

Rub a dub, a dub....

...and what the heck is a 'dub'?
Can't believe i didn't take a post cleaning picture but I didn't, have to take my word for it that it cleaned up nicely.


After cleaning I was able to see some 'brindling' on the bearing race.  Have to decide weather or not to replace the bearings on the hub.  Not sure it will make to much difference if it's cleaned up and greased?


Taking the springs off the shocks

Interesting for the fact that the spring has OEW and red overspray

Cleaned and painted radius arm

Springs?  Cleaned and painted

Cleaned up, control arm ready for paint tomorrow.

8 hrs
Monday, October 10, 2016

IRS/NSX

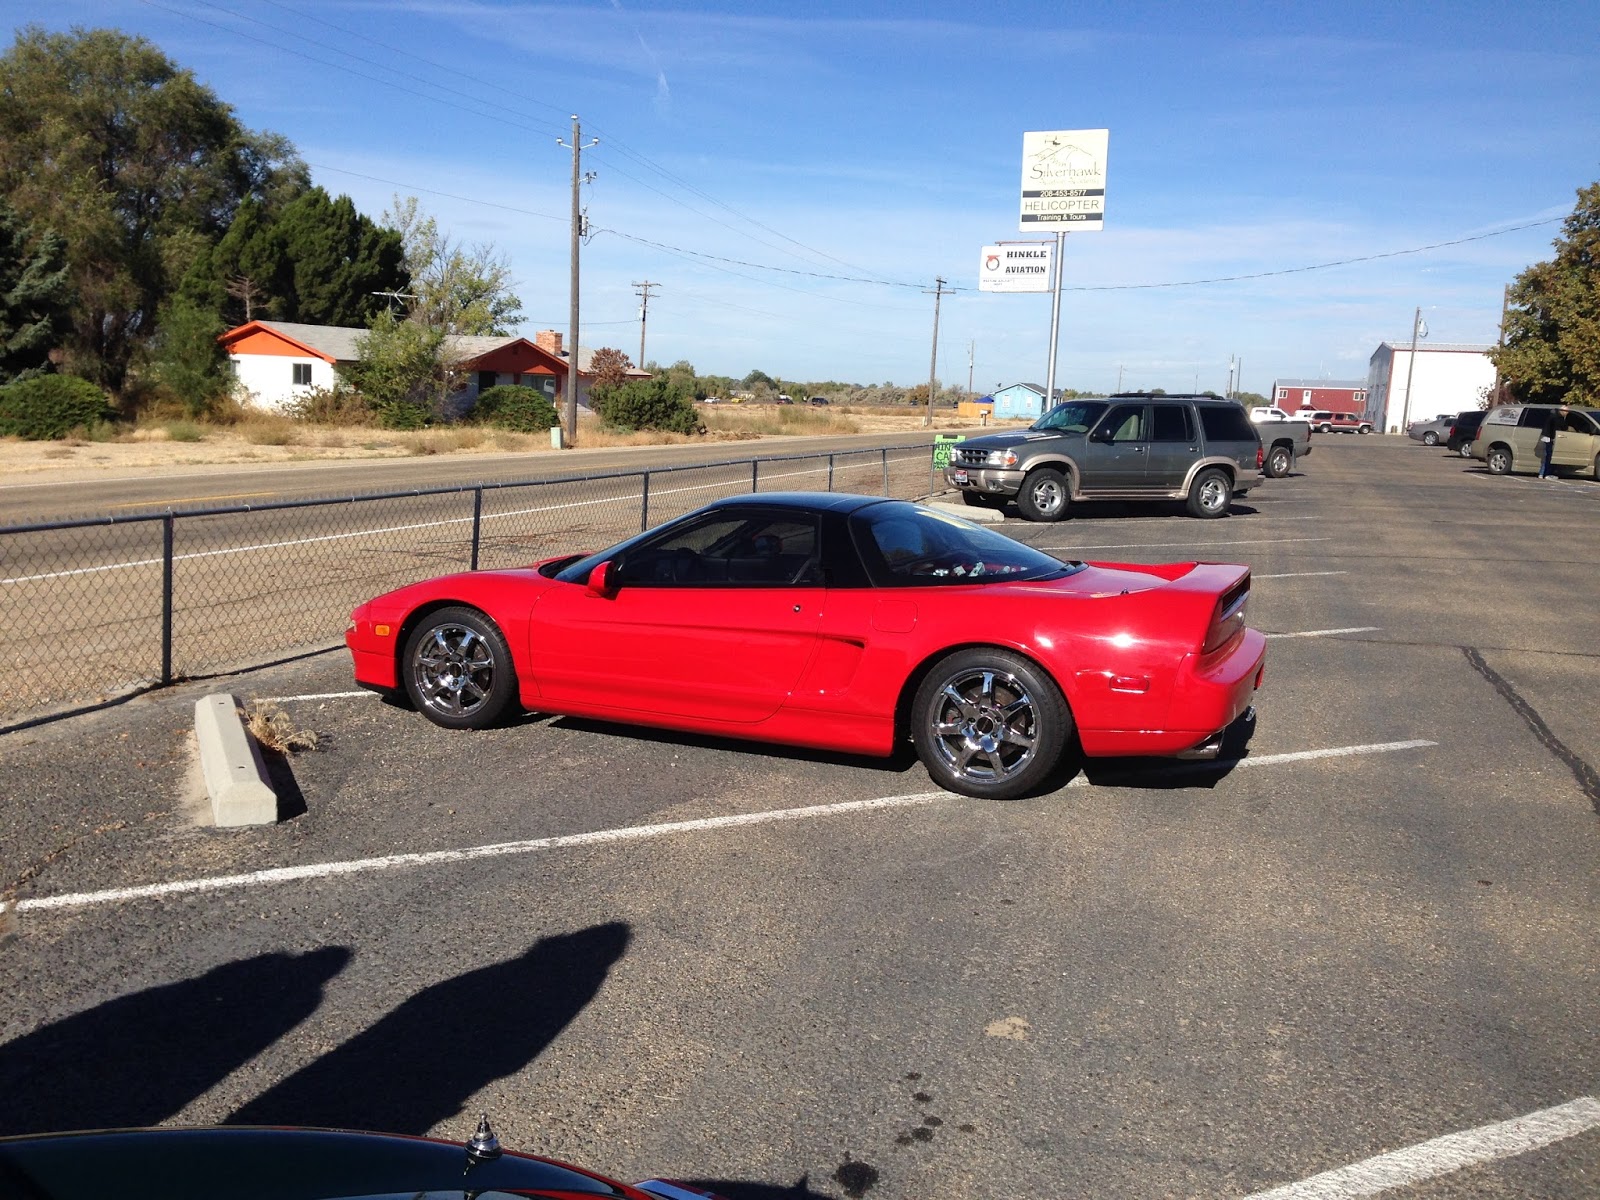
Hi Folks, had a great weekend.  We joined some friends for breakfast at the Caldwell Airport on Saturday.  One of the folks drove his 1991Acura NSX, this is one of the few super cars from the 90's that I would love to have.  Brad gave me a ride in it and he popped my neck with every gear change!  Redline is at 8K! Very nice car that Brad has maintained at a very high level, the car looked like a new car.

Today was a cleaning day and expect that most of the week will be spent getting parts cleaned and ready for reassembly.


Bottom plate for cage, this had been damaged by folks who jacked up the car without taking precautions to protect it.  I had to straighten it up and weld up a tear in the steel 

Finished and painted

Differential during the cleaning

Took a break and disassembled the calipers, they would have leaked as soon as we tried to use them, the following pictures show the crud in the calipers, doubt you can see the corrosion that has damaged the inside of the calipers. We will need to either get them re-sleeved or replaced


Cleaned and ready to disassemble for new seals....


Cheers.


7hr